29.9.14

HALLOWEEN CARD SERIES #2 MINI CARDS AND ENVELOPES

Frightfully Fun Mini Cards

Frightfully Fun stamp set
This adorable stamp set seemed to really say mini card to me. I made four mini cards and envelopes. They were very easy to put together. If you aren't able to catch the measurements, and products I used in the video, I have listed the items below. I hope you are inspired to make a few cards of your own.

Products Used

Chalk it Up paper collection
Frightfully Fun stamp set
Shinhan marker in Peony Purple, Golden Yellow, and Clay
Corner rounder
Scoring board
Paper trimmer or slicer
Adhesive of your choice

Cutting Instructions

The card bases are 3" x 6", scored and folded at 3".
First layer of background and texture paper cut at 2 3/4" x 2 3/4".
Next layer of solid color is cut at 2 1/2" x 2 1/2".
White stamped layer cut at 2 1/4" x 2 1/4".

The envelope is cut at 7" x 4 1/4".
Score on 7" side at 1" and 4 1/2.
Score on 4" side at 1/2" from each end. 

The envelope liner is cut at 4" x 3 1/4"


Thank you for your support. As always feel free to comment below. Let me know if there is a technique or product that you would like to see me make a video and or blog post about.

28.9.14

WINNER OF SEPTEMBER PRIZE ANNOUNCED!

MONTHLY PRIZE DRAWING

Seaside Paper Packet
This morning I used a random number generator, after assigning each of my newsletter subscribers a number, to pick a winner of the lovely Seaside Paper Packet. The winner this month is Beverly! I hope she enjoys my favorite papers as much as I do.

The prize for the month of October is the Home for the Holidays stamp set. It is also the Stamp of the Month for October, and available for $5 with any $50 purchase. Sign up for my newsletter, and you could receive this festive stamp set for free. The sign up box is in the upper right hand corner of the blog. 

An example of what you can do with Home for the Holidays
 If you are planning on making your own Christmas cards, tags, bags, or decor, this is the stamp set for you.

Do you DIY any of your Holiday celebrations. Leave a comment below and let me know your plans.

27.9.14

HALLOWEEN CARD SERIES CARD #1

EEK & SHRIEK

Close to My Heart Eek and Shriek stamp set

Fun folds and googly eyes!

I wanted to make a card than didn't require a die cut machine, and anyone with basic tools could make. I did use my Cuttlebug for one of the layers, but it isn't necessary. You could simply keep the cardstock just as is, or use another print. 

There is a video below so that you can see the card, and how easy it is to put together. I used the Scaredy Cat paper collection from Close to My Heart along with the stamp set.  


Just in case it wasn't clear how I folded the square piece in the middle of the card, here are a few photos.


 First I took a 4 inch square and scored it at 2 inches, turned 180 degrees and scored at 2 inches again. If you don't have a scoring board simply fold the paper in half both horizontally and vertically. I drew pencil lines so you can see a little better.


Next I folded all of the corners to meet in the middle.  Again it is easier to see if you make light pencil lines.

The last step is to fold the points back out to the very edge of the square. Now you are ready to decide how you want to add it to your card. This is a standard A2 sized card measuring 5 1/2 x 4 1/4. The thistle layer was cut at 5 1/4 x 4. The inside layer of double sided paper  was cut at 5 1/4 x 4, and the white layer was cut at 5 x 3 3/4.

Do you make Halloween cards? Comment below and let us know what your plans are for this fun holiday.


24.9.14

CLOSE TO MY HEART WORKSHOP ON THE GO

EASY TO USE SCRAPBOOK KITS

Pathfinding layout

I had a very fun box on my porch when I returned home yesterday. I have never actually seen the Fed Ex man, but I'm pretty sure he is one of my new best friends. Inside the box were 3 of the Close to my Heart Workshop on the Go kits. You can check out the video below to see what the items in each kit look like. I don't think I was clear in the video about the cardstock colors in each kit. I am going to list them along with the recommended ink colors for each kit.

Pathfinding Workshop on the Go

Six 12 x 12 background and texture papers (2 each of 3 double-sided designs)
Exclusive Stamp Set
Two Colonial White cardstock
Two Champagne  cardstock
Two Chocolate  cardstock
One Autumn Terracotta  cardstock
One Goldrush  cardstock
One Olive  cardstock
Ten-piece wooden and cork adhesive-backed assortment
Bling gems assortment
One Instructional Brochure
Recommended Ink Colors are Autumn Terracotta, Chocolate, Goldrush, and Olive 
Confetti Wishes Scrapbook Layout

Confetti Wishes Workshop on the Go

Six 12 x 12 background and texture papers (2 each of 3 double-sided designs)
Exclusive Stamp Set
Two Canary cardstock
Two Pacifica cardstock
One Crystal Blue cardstock
One Thistle cardstock
Two Kraft  cardstock
Two White Daisy  cardstock
One Package assorted dimensional embelishments
One Gold Shimmer Trim
One Instructional Brochure
Recommended Ink Colors are Canary, Pacifica, Pear and Thistle
Seaside Scrapbook Layout

Seaside Workshop on the Go

Six 12 x 12 background and texture papers (2 each of 3 double-sided designs)
Exclusive Stamp Set
Two Desert Sand  cardstock
Two Glacier  cardstock
Two Colonial White  cardstock
One Sorbet  cardstock
One Pear  cardstock
One Package Aqua Dots
One Package Seaside Assortment
One Instructional Brochure
Recommended Ink Colors are Desert Sand, Glacier, Pear, and Sorbet


Have you used a Workshop on the Go kit before? Please leave a comment or any questions below.


22.9.14

UPDATE ON FUNDRAISING FOR CANCER RESEARCH

THE DAMON DIVAS

Damon Divas 2013

Our walking team has been hard at work raising funds for the Leukemia and Lymphoma Society. We have raised $1234.00! Our total was just over $2000 last year, and we are hoping to break that record. 

If you are interested in helping the Leukemia and Lymphoma Society raise funds for cancer research, here is the link to our fundraising page  This will be our 3rd year to walk for this worthy cause. Taking part in the annual Light the Night Walk, along with donating a portion of my Close to My Heart profits, is how I do my part to help further important research. Since I have personally benefited from  recent research, giving back is extremely important to me.

Do you have an important charity that you raise funds for? Please feel free to leave a link to your favorite charity in the comment section below.
 

21.9.14

FUN WITH THE ARTFULLY SENT CRICUT CARTRIDGE ~ POP UP CARD


POP UP CARD THE EASY WAY!


Home Sweet Home

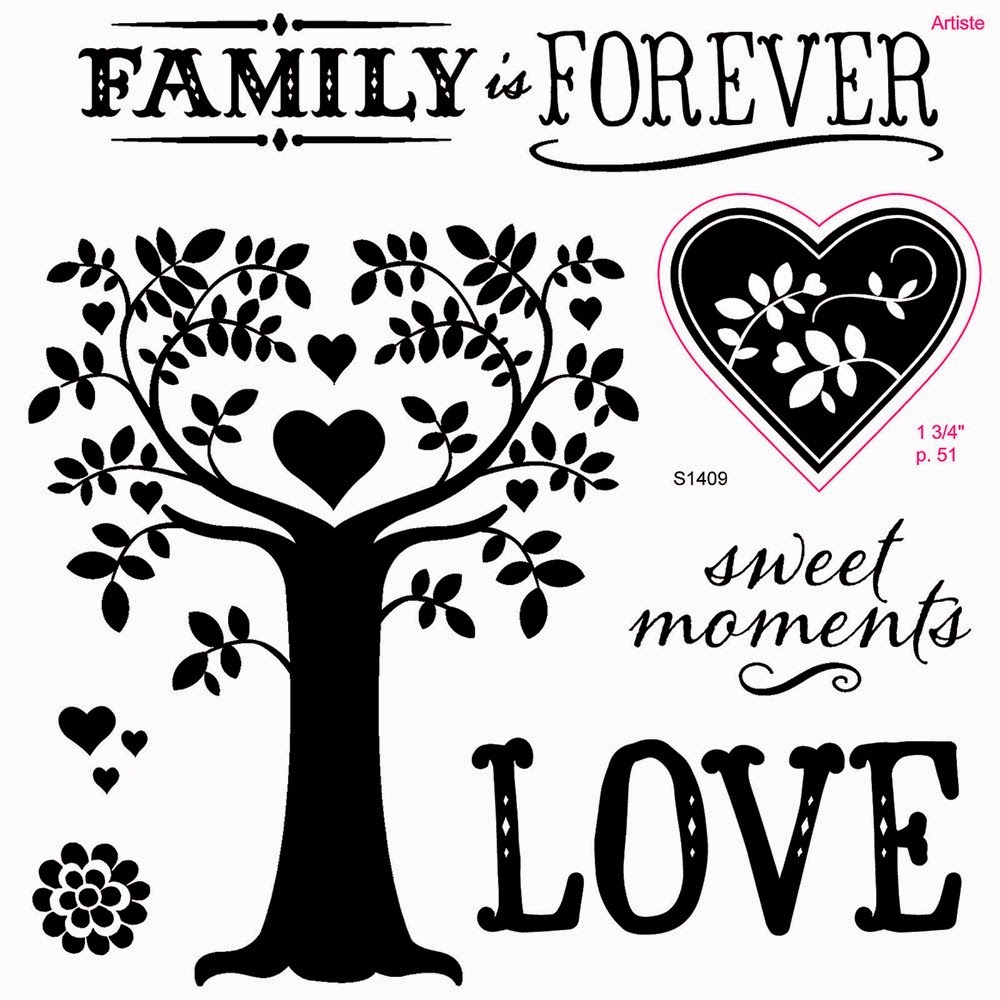
I spent the morning playing with the Artfully Sent Cricut Cartridge. No big surprise, right? Pop up cards are so easy with this cartridge. I decided the Whimsy color collection and Family is Forever stamp set would look great with the Home Sweet Home  card. 

Here is the list of items I used:

Artfully Sent Cricut Cartridge
Pixie and Black Dye Ink Pads
Rub and Remove Eraser 
Pixie, Crystal Blue, Sweet Leaf, and Canary Cardstock
Family is Forever Stamp Set

I made a video to show how easy this card is to put together. I hope you enjoy it. I am still very new at making videos, but each one gets easier.


As always, please comment below with any questions. Also, let me know if there is a video you would like to see. 

19.9.14

ADVENTURES WITH MY CRICUT I

Artfully Sent Cartridge - Page 4

Artfully Sent and Brushed Collection
 I have been wanting to make something with the Brushed Paper Collection, and I finally got the chance today. I fired up my Cricut, opened up Cricut Craft Room, and picked a theme from the new Artfully Sent Cricut Cartridge. All of the cards I made can be found on page 4 of the Artfully Sent booklet. I made four different types of cards: a scene, pop-up, sleeve, and pocket card. I didn't make the sentiment card but maybe I will get around to it this weekend. 

Below is a video that will give you a better idea of how easy these cards are to put together. This new cartridge really does make it easy to create cards that look like they were difficult and time consuming. 


 If you would like to own this cartridge or paper pack for yourself, click on the "Shop Now" button, or email me at dedraclutz@hotmail.com. Don't forget that I am offering a dye ink pad in the color of your choice to anyone who orders the Artfully Sent Cartridge from me. Do not add the ink pad to your order, email me your color choice, and I will send it directly to you.

Please let me know what you think of the new cartridge, and Brushed Paper collection in the comments below. 

Blog design by Rainy Day